How to Create an Inspiration Board
I will never stop singing the praises of the good ol' fashioned inspiration board. Not only is it one of my favourite parts of starting a new project - whether it be a photoshoot, branding design, or a styled party - it's one of the first steps I take to bring a dream to life, and it's the stage where you start to see themes emerge, details take shape and your vision begin to materialize. And there is so much magic in that, especially when you're a bit of a dreamer and visually-oriented. It's one thing to have an idea, but to be able to actually bring that to life, to communicate it with others and watch it transform, that's pretty special, and it's one of my favourite things to do.
Though I've always loved Pinterest and inspiration-hunting in general on a personal, self-indulgent level and used it as a tool for Bicyclette creative projects, recently I've begun working with other small businesses and brands to help bring their visions to life in the form of brand design and styling, and it's become even more evident to me how important the inspiration gathering stage is.
With that in mind, I wanted to share a little peek into this stage of my creative process.
Start on Pinterest, and don't be afraid to go a little crazy.
I generally start by creating a new Pinterest board and inviting the client or project collaborator to join. Depending on the project, it might make sense for the board to be secret, but that's totally up to you. Don't get too hung up on pinning the "perfect" images at this stage. It's more important to populate the board with as many photos as possible, and we'll fine-tune it later in the process.
Because I spend a fair amount of time on Pinterest on a regular basis, I often start by going through my own boards, knowing I probably already have a good collection of images to choose from that already fit my aesthetic and meet my standards.

Don't limit yourself.
Throughout this process, there can be a tendency to only look for images that directly relate to the end result of the project you're working on. So if you're working on a brand design, you may only be looking at other examples of branding, or if you're styling a beauty shoot, you may only search for other beauty shoots. But it's important to pull inspiration from many different sources and in a variety of images. Think of colour palettes, textures, prints and patterns, lighting, mood, subject matter... the list goes on! - and think outside the box. What you're really trying to capture is the essence of the brand or theme, and that can come in many different forms.
For example, most of my inspiration boards will include images of interiors or decor details, an outfit or two, maybe a few packaging or branding design samples, and a mix of images from photo shoots that capture other aspects of the theme in some way or another.
Look for themes and build your inspiration board.
Once you feel like you've gathered enough inspiration, take a look at your board and start to pick out common themes and similarities. This is also a good opportunity to start deleting images that don't feel consistent with the overall direction you're going in.
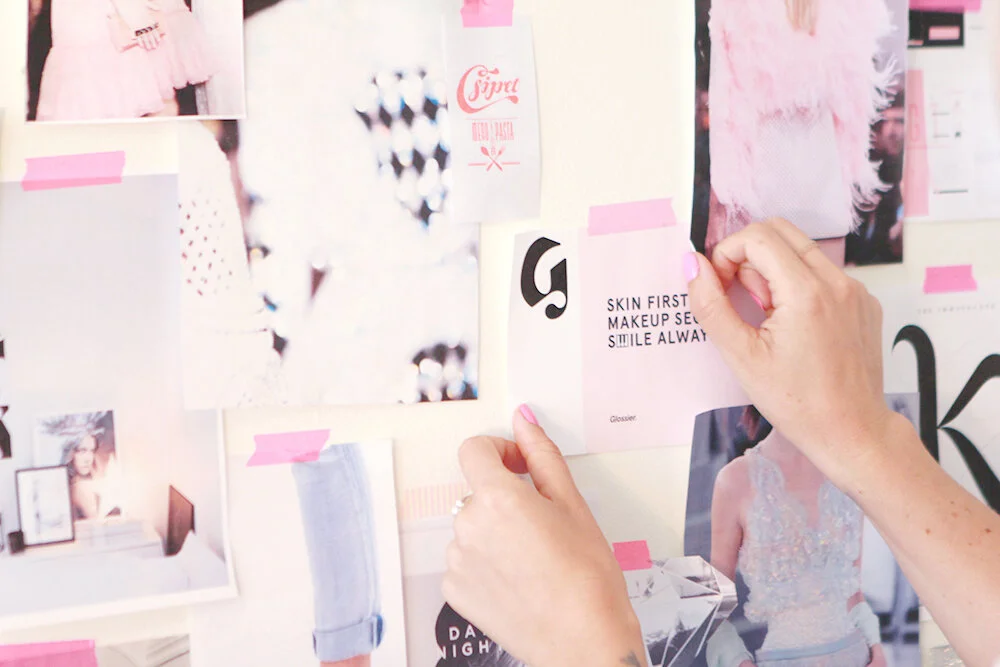
Pick out the images that best represent the theme, and use those to build your inspiration board, again making sure to select a variety of subject matter. Mix up the orientation, play around with size, and pay attention to the colour palette when building your board. This is also when I start to pull blocks of colour into the board directly from the images and use those as part of the layout, defining my colour palette.

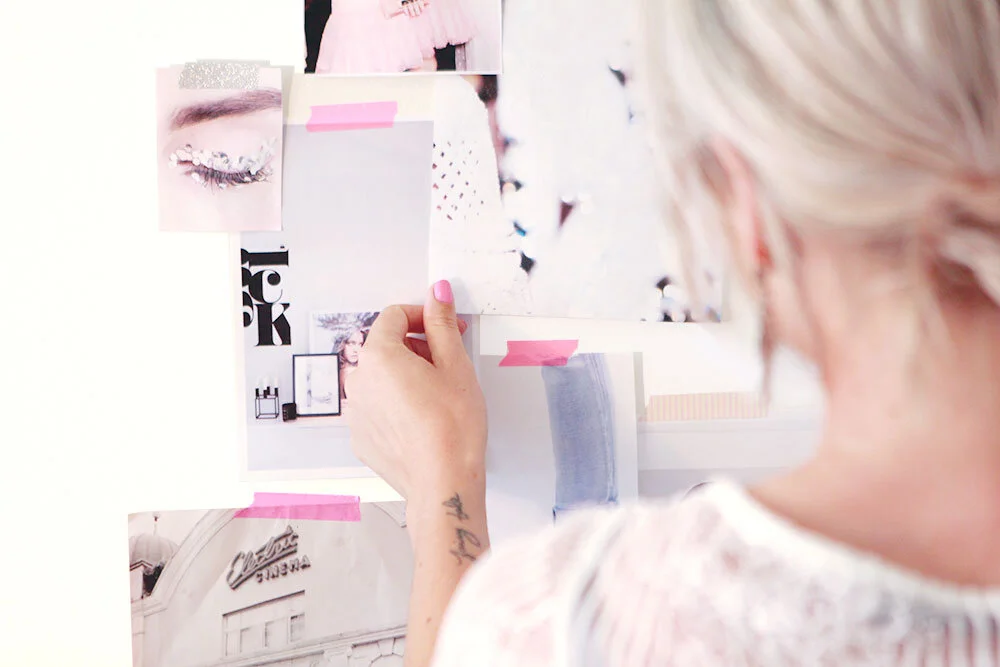
Once I've put together the inspiration board, I like to print it out (or elements of it, at least) and hang it on my studio wall or keep it on my desk as I start to work on the next stage of the creative process. It acts as guidance and a visual reference point for every design and styling choice I make, ensuring that the various elements in the inspiration board will be evident in the overall creative direction of the project.