
Behind the Scenes // Lash It Visual Strategy and Brand Photos
You may have already noticed, but earlier this week, my new Brand It Beautiful course launched: The Visual Strategy Masterclass! I can barely contain my excitement over here, as this is something that I’ve been working on for awhile now.
The course shares my signature process for identifying your brand style and story and helps take you from inspiration board to visual strategy for your brand photos. This process is essential to the work that I do with my own one-on-one clients, and though I’ve used it for a number of specific project outcomes, such as an overall brand and website design in the case of photographer Scarlet O’Neill, I’ve designed the Visual Strategy Masterclass specifically towards those who need help with their brand photos, with the final outcome of the course being a detailed shot list which will help them plan and implement a photoshoot that is aligned with their visual strategy.
Since Instagram is hands down my social platform of choice for my own brand, and consequently where I put most of my efforts when it comes to developing branded content, it will probably come as no surprise that many of my clients end up coming to me for help developing their own brand on Instagram.
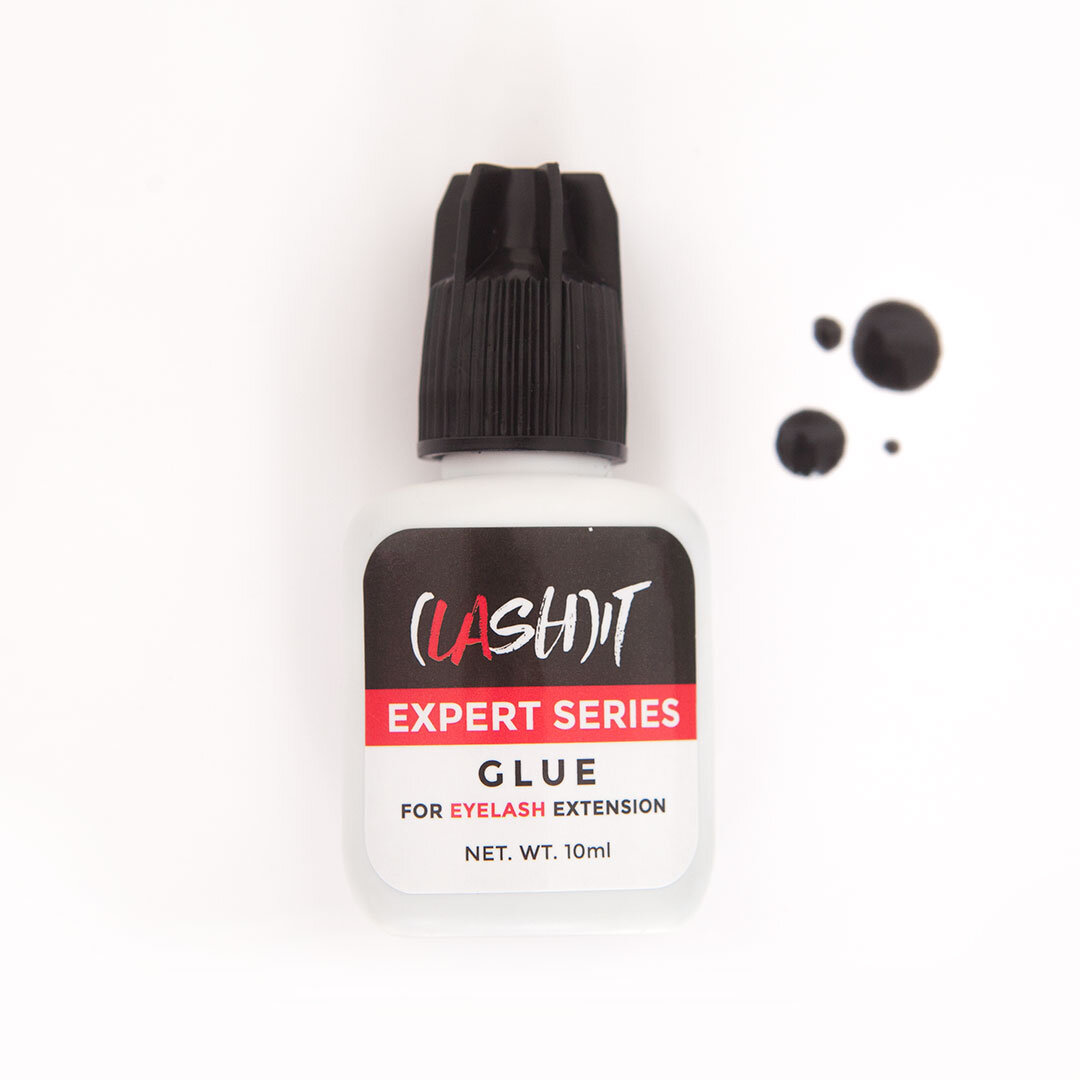
Andrea, owner of eyelash extension brand Lash It contacted me last month about wanting to uplevel her Instagram presence for her recently launched business, and so we set to work right away developing a visual strategy for her brand photos, with the intention of using them solely on her new Instagram profile.
She had a few posts up there already, but because they didn’t represent what she wanted her brand to look like or the message she wanted to portray, we decided that it would be best for her to start completely from scratch so we could really get it right.
Here’s a little peek at the process, in which I used the exact tools and process that are available to you in the Visual Strategy Masterclass.
Brand Styling Brief
The first step was having Andrea fill out the Brand Styling Brief, which helps me to better understand her vision and intention for the Lash It brand, as well as her overall business goals. Basically, we’re trying to narrow in on what she’s hoping to accomplish through her Instagram brand presence, and aiming to capture her brand story and style.
When I’m working with a client, this brief is quite lengthy, but I’ve narrowed it down to 15 questions for the version that is included in the course, since the idea is that you’ll be going through this process for your own brand, and you probably already have a pretty good sense of what your brand is all about, as opposed to me having to learn all the intricacies from ground zero.
So these questions fall into five main sections:
Defining Your Values
Finding Your Magic
Attracting Your Dream Clients
Capturing Your Style
Telling Your Story
Once the brief is filled out, we go through it in detail and pull out words or phrases that really capture the essence of the brand, or that are repeated throughout, meaning they’re probably worth paying attention to. We’re looking for keywords and themes that will carry through to the next stage of the process.
The Lash It brand already had a logo and website designed for it, and with that a few colours already associated with it: red, black and white. Upon talking with Andrea and going through the brief, we knew that creating a colour palette that extended beyond these colours was essential, and we also knew that the brand persona was fun, flirty, and fashion-forward, so that needed to come through as well.
The Inspiration Board
It’ll come as no surprise that this is my favourite part of the process, and since I find myself piecing together inspiration boards on a regular basis, I’ve developed a specific process that I follow, which of course we dive into in great detail in the course.
I know it might sound a little odd to follow “rules” when it comes to something that seems like it should be all dreamy and free-flowing as the inspiration gathering process, but trust me - I’ve created this process because of a need for structure, and it’ll help you find the right images that will give us what we need for the next step, while still providing us with that dreamy inspiration board we’re after.
So yes - there are a few stages here, following the broader outline of:
Start on Pinterest, and don’t be afraid to go a little crazy.
Narrow down your board and make notes on each photo.
Build your inspiration board, aiming for 15-20 images.
Basically we start by spending a decent amount of time gathering all of the inspiration we can find, without thinking through it too much or without much intention. It’s just about finding and pinning images that fit within the filter of your brand style. Then we go through this process of narrowing it down.
For the Lash It project, we actually started with a shared Pinterest board between Andrea and I so that we could both pin to it (and then Andrea would also have access to it after the fact, continuing to use it for inspiration). Then I took that and started to pull out the photos that would make it to the final inspiration board - the crème de la crème - if you will, and we ended up with this:

Once we had started building initial inspiration board, it didn’t take long for a distinct colour palette to start to emerge, as you can see, and we started to see some specific themes and details emerge, which carries us through perfectly to our next stage, which, in the case of the course, is our third module.
The Brand Theme Breakdown
So now that we have this beautiful inspiration board, it becomes a matter of figuring out how to translate that into what will eventually become our brand photos. That’s where the real magic happens in the Visual Strategy Masterclass, through the next two modules and the use of the two workmats, the first of which is the Brand Theme Breakdown.
This workmat is fairly simple in design and that’s the beauty of it, as it’s really meant to guide us in organizing what we’ve come up with so far and pulling out the information we need. Its basic structure leads us through the process of grouping our inspiration images into themes, and then pulling out the tone words and specific details.
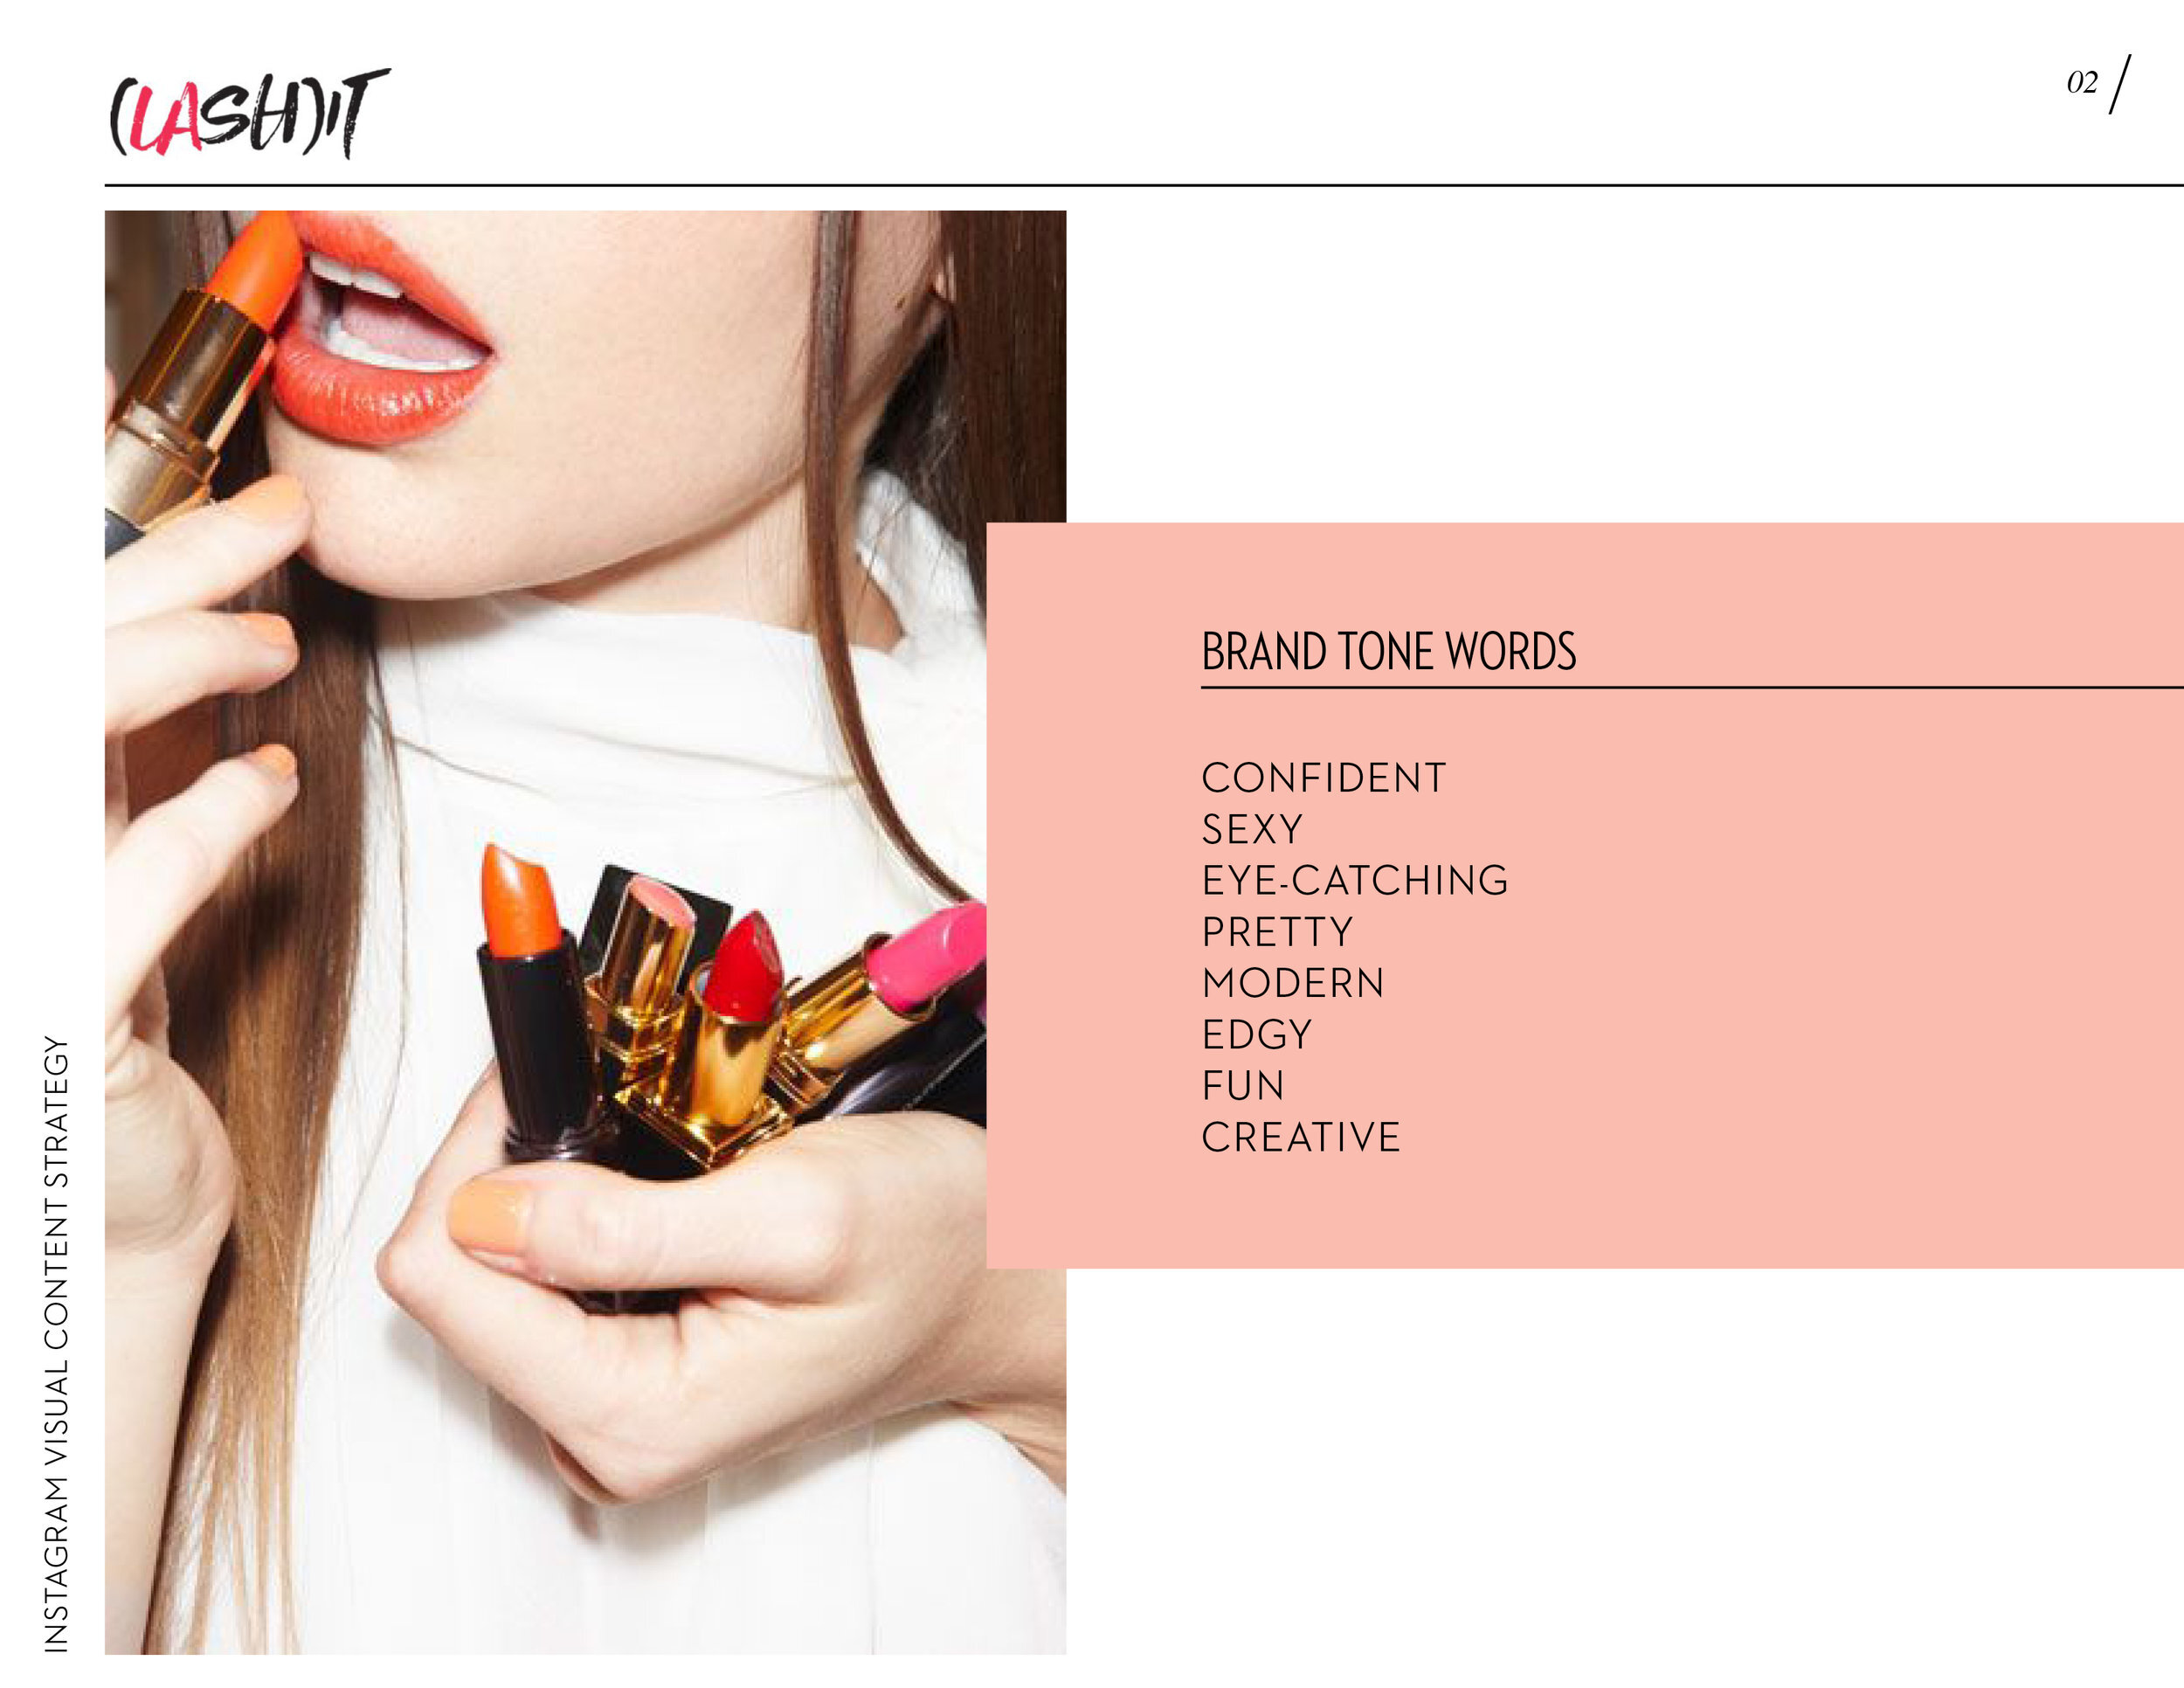
Based on what emerged through this part of the process, I pulled out the tone words and included them all for Andrea to see. These are important to keep on hand and pay attention to when creating other facets of your brand, so it’s not a bad idea to create a document or have a special place where these can all live - even if that’s a collection of post-it notes beside your workspace. In this case, I laid them out in a simple document that followed the same design as the inspiration board.
Based on these tone words and the original inspiration board, we started to pull out specific details as well, which we’ll see show up later in the actual brand photos we created.
Oh, and if you feel like you might get stuck when trying to think of the “right” tone words (I’m totally that girl who can’t seem to think of any descriptive words when I need to), I include a tone word bank in the course, with a full page of ideas to make it easy for you.
The Visual Strategy Canvas
The Visual Strategy Canvas, the second workmat, is really where the magic happens. In this step I pull information and content from the first three steps - the Brand Styling Brief, the inspiration board and the Brand Theme Breakdown Workmat - and also fill out some new fields. This is the culmination of all the work we’ve done up until this point …. and the canvas acts as a reference guide for planning your shoot - and really, an overview of your brand style as a whole, with lots of key information all organized in one place.
We go identify our brand colours here, capture our brand themes, tone words and details from before, and also dive deeper into defining our dream client and what an empathy map for them would look like.
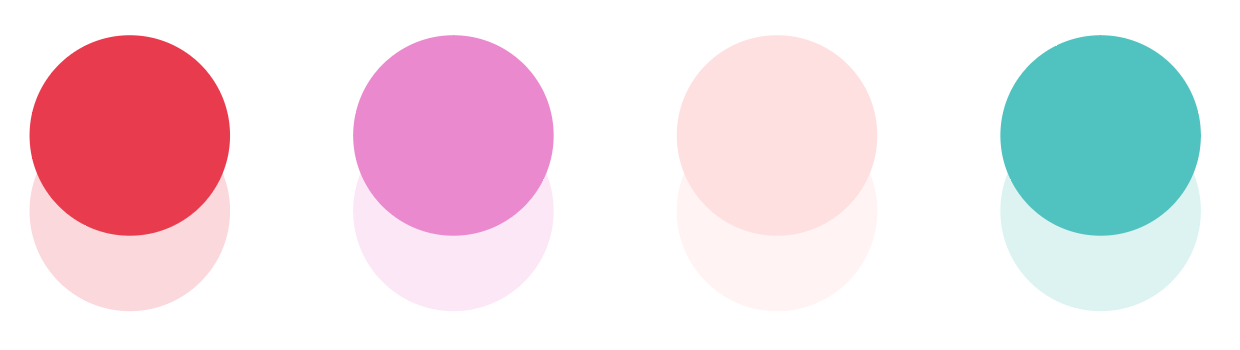
For Lash It, you can see the colour palette that we pulled straight from the inspiration board below (plus gold!), and we ended up using those swatches right through to the brand photoshoot. This is also when we start to brainstorm the actual shots we need for our brand photos.
Planning Your Brand Photoshoot
Once we had gone through this process for the Lash It brand and had our Visual Strategy Canvas all filled out, we were ready for the next phase of planning the brand photoshoot.
I actually had the opportunity to continue working with Andrea to develop custom Instagram graphics and brand photos, so I was able to follow it through until the very end.
I built out a specific shot list outlining exactly what we wanted to walk away with, and then we got to work creating custom backdrops and putting together a styling toolkit with a selection of props that fit the style we had established and the details that we had identified in the earlier stages.
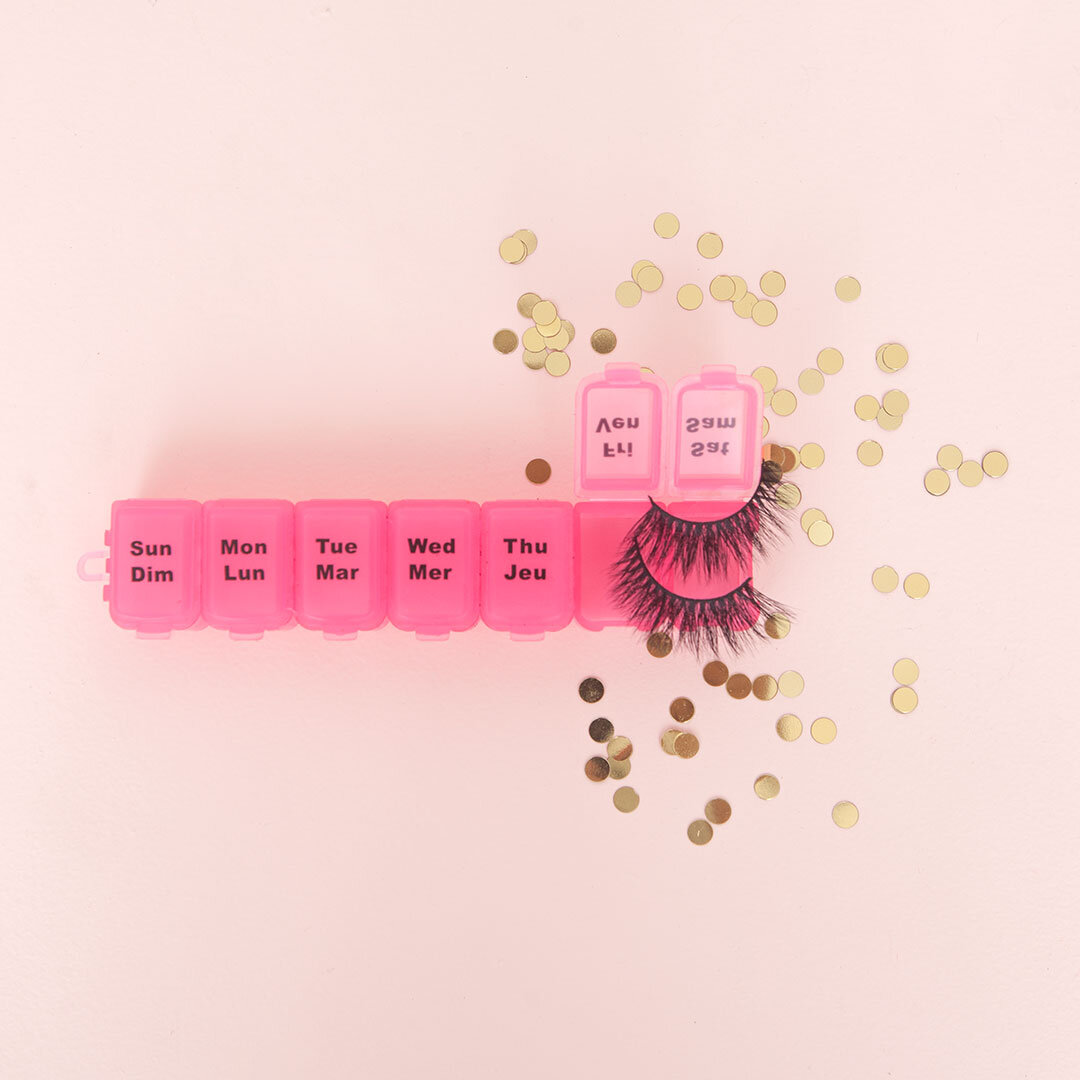
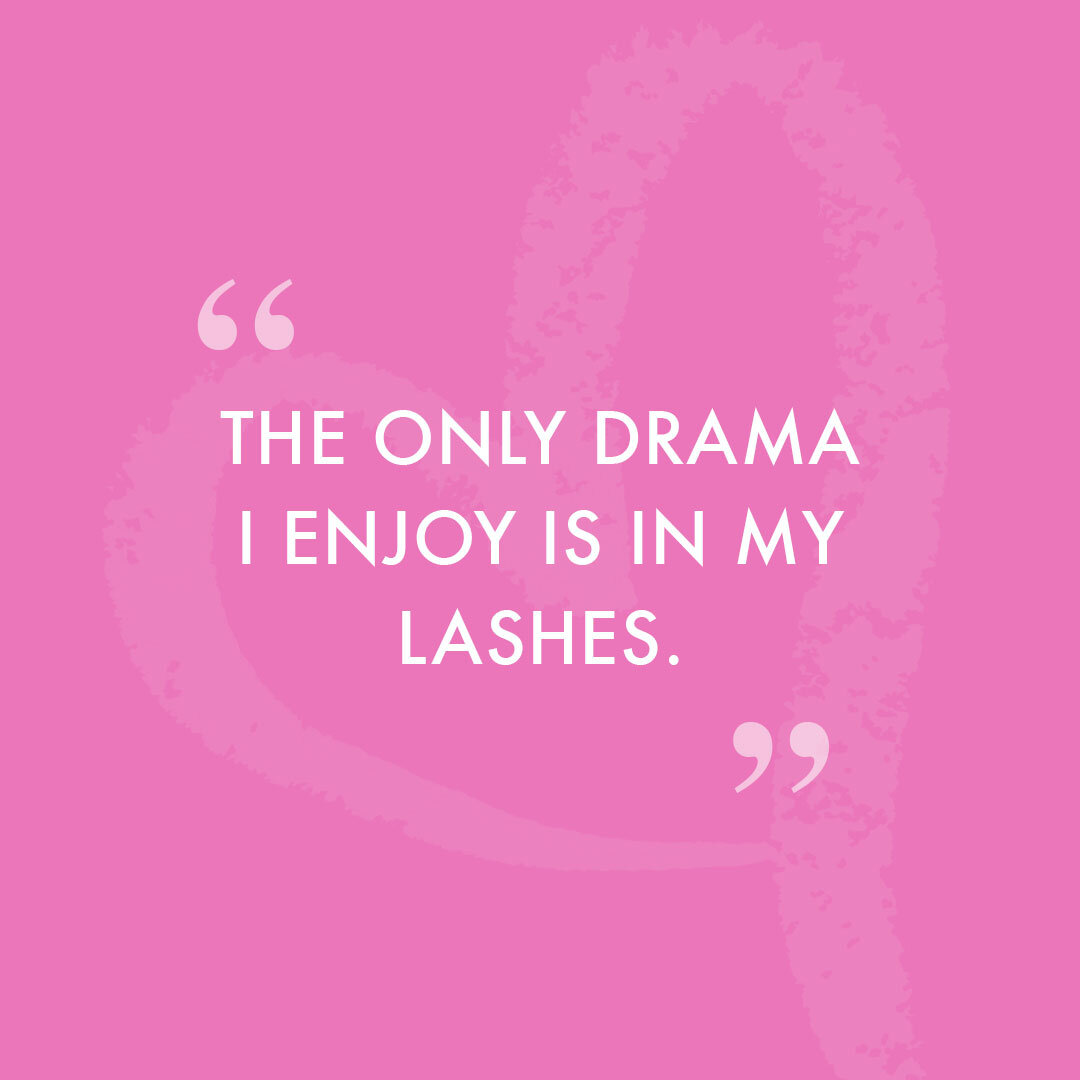
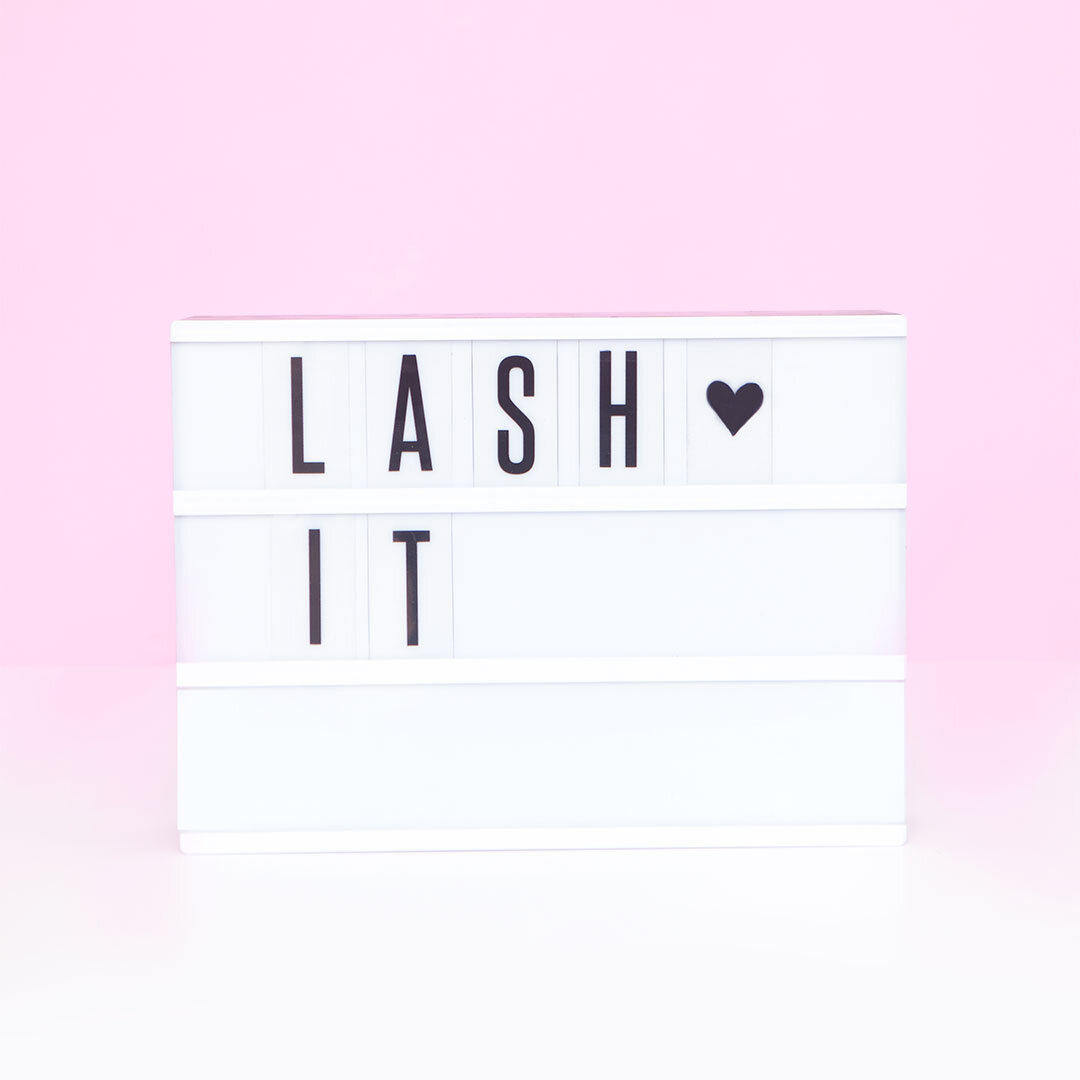
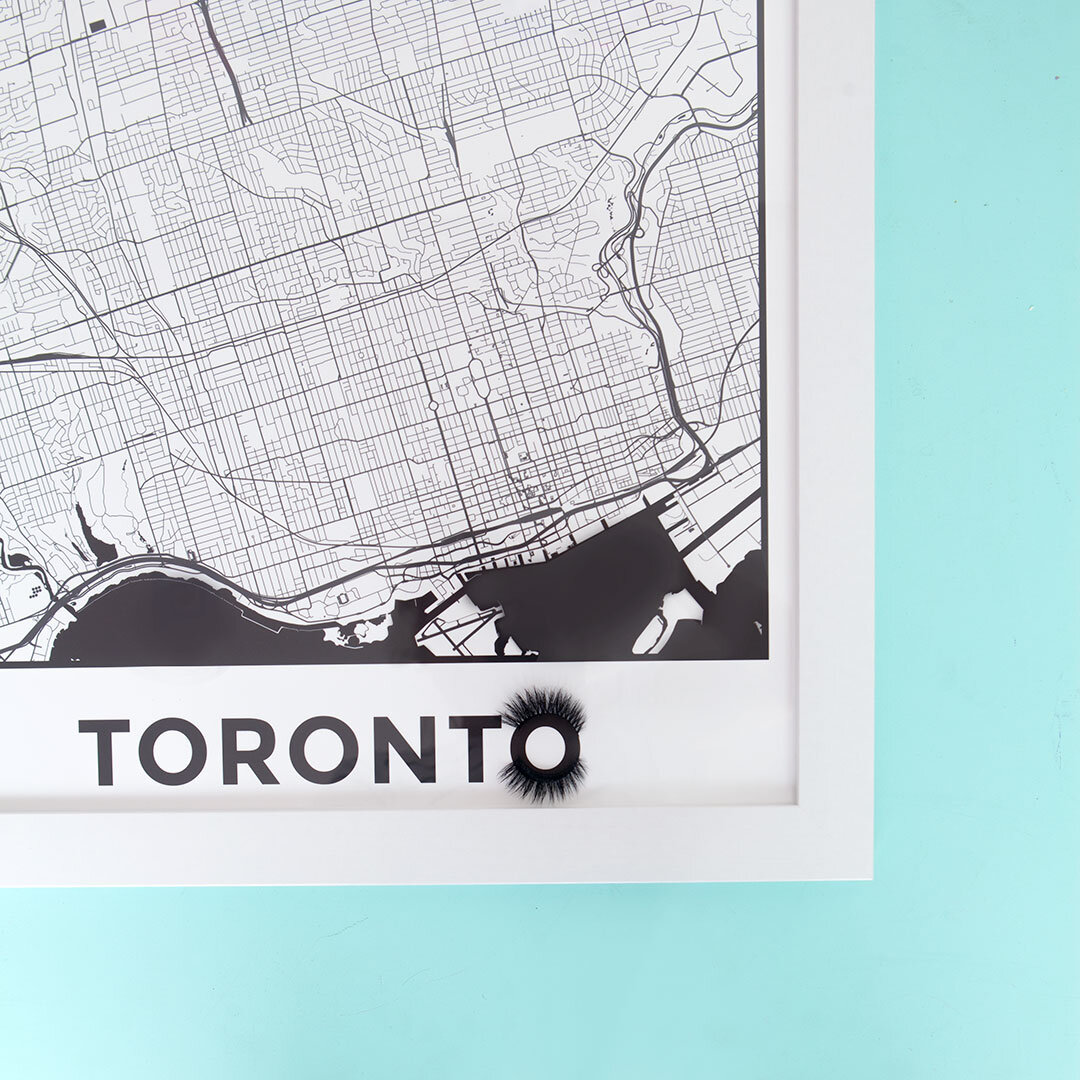
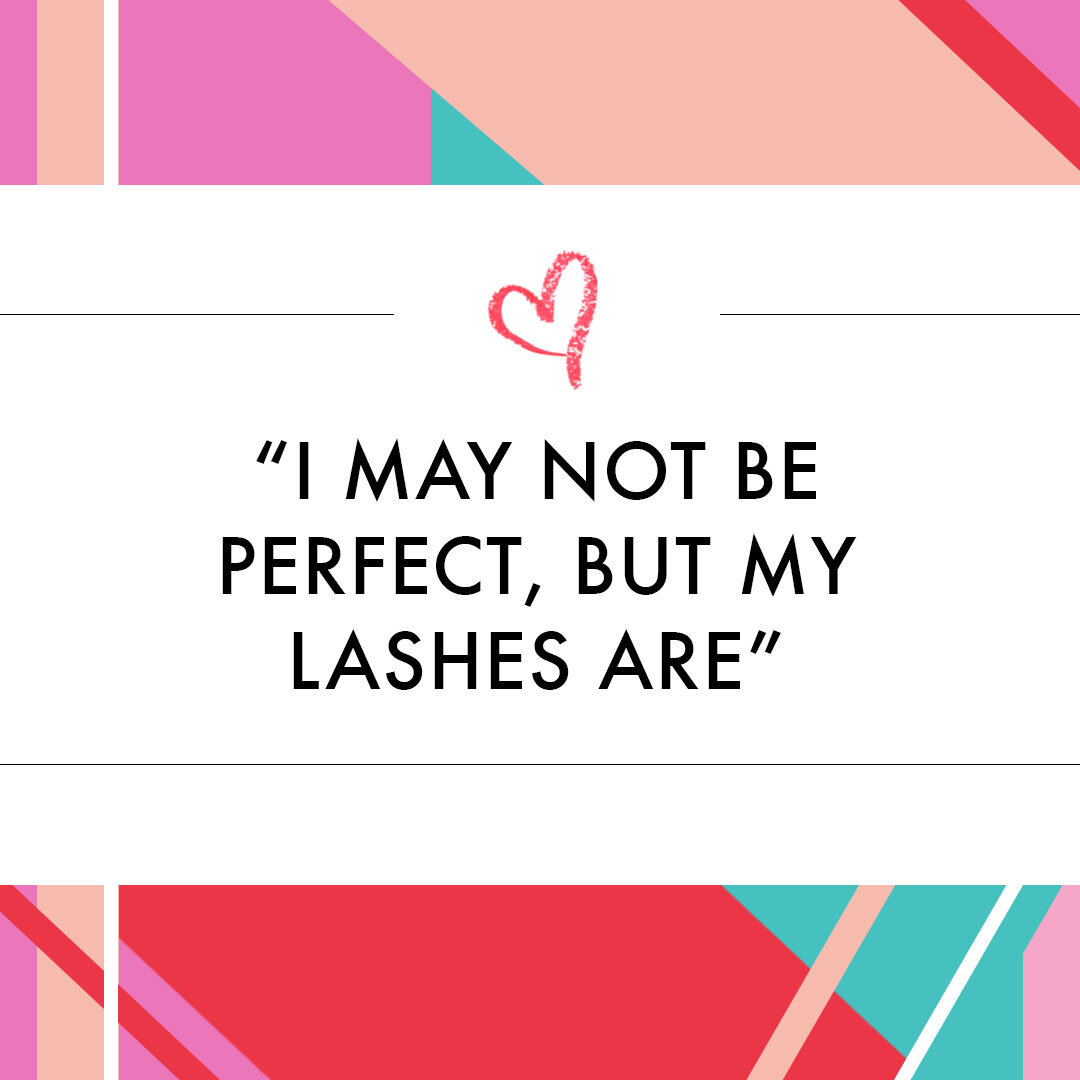
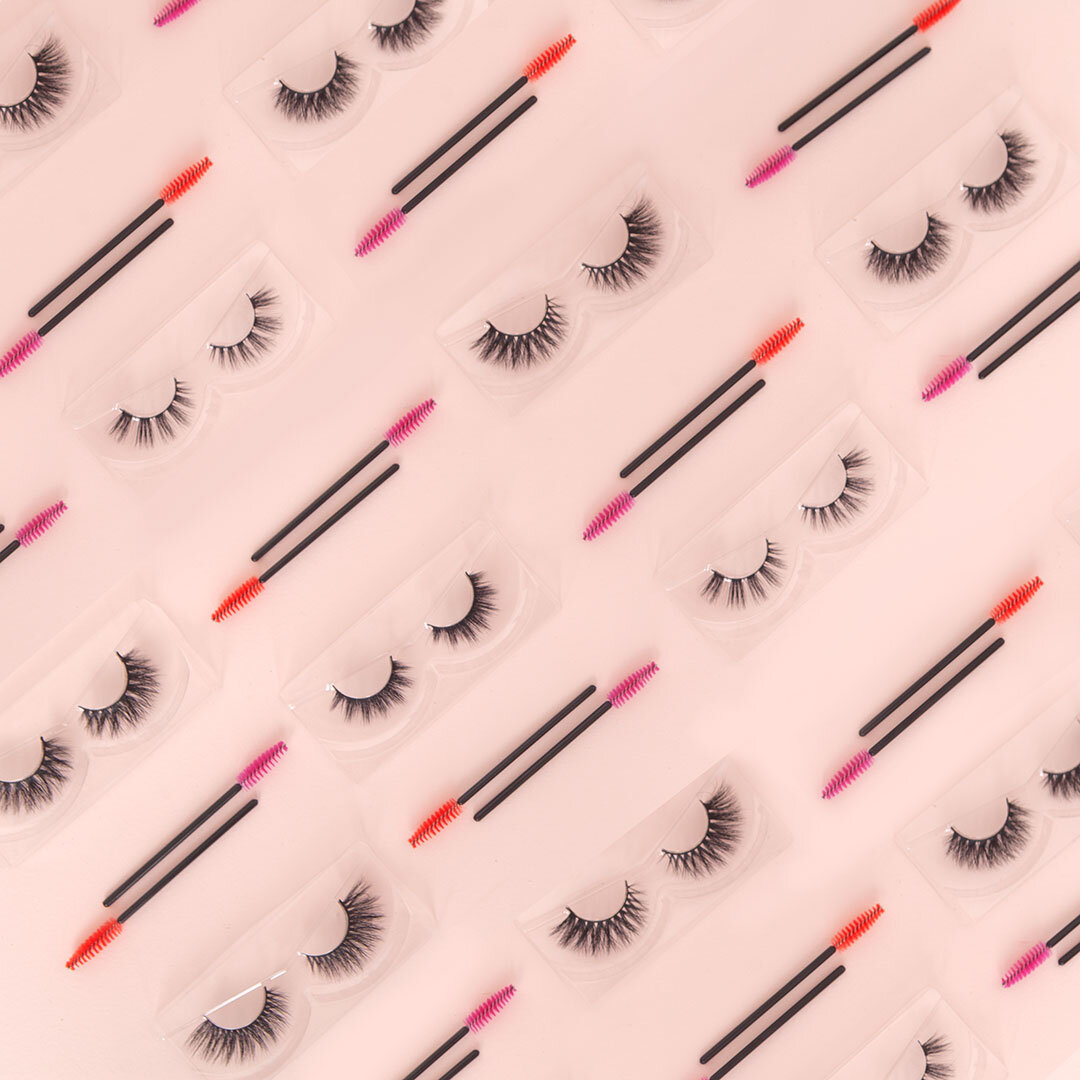
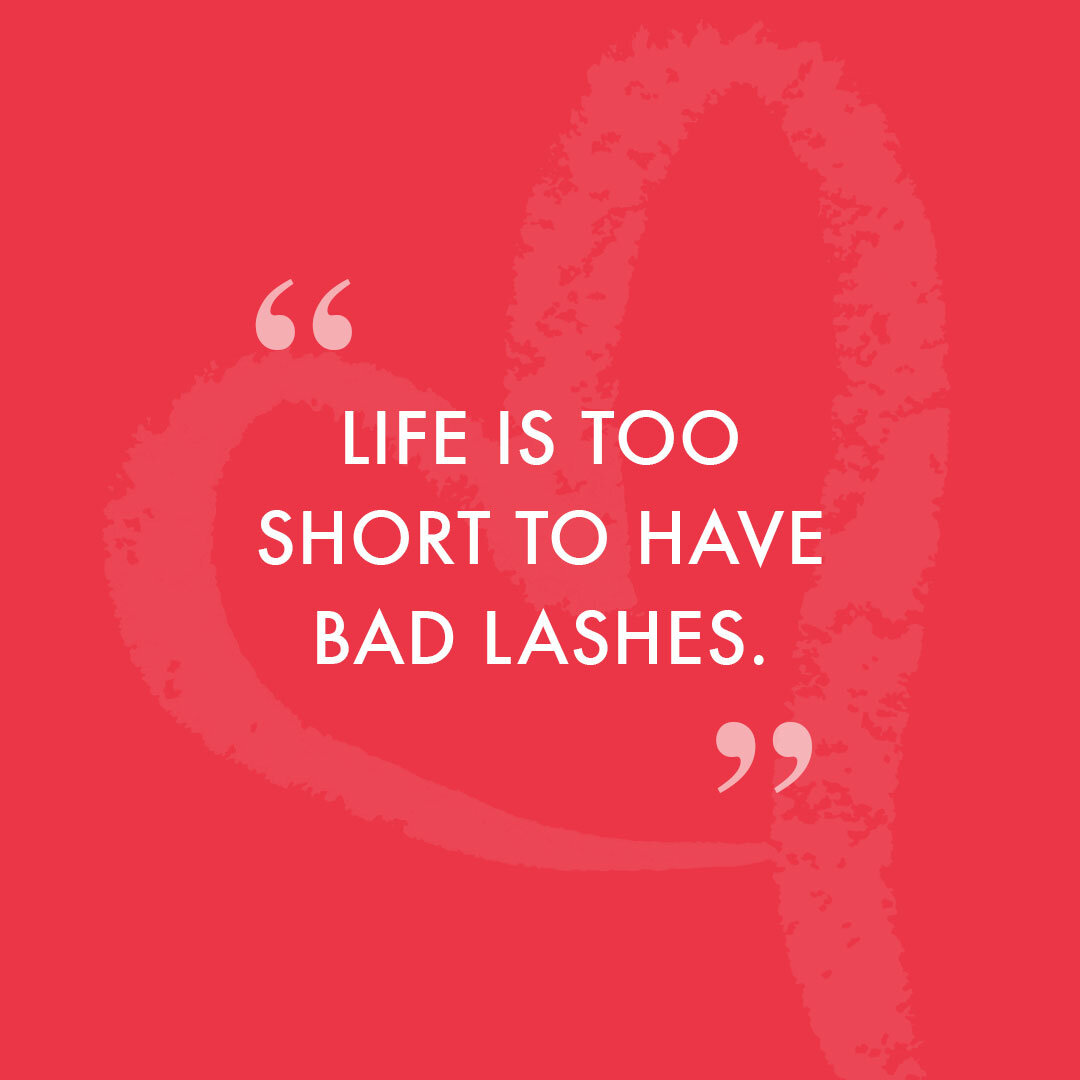
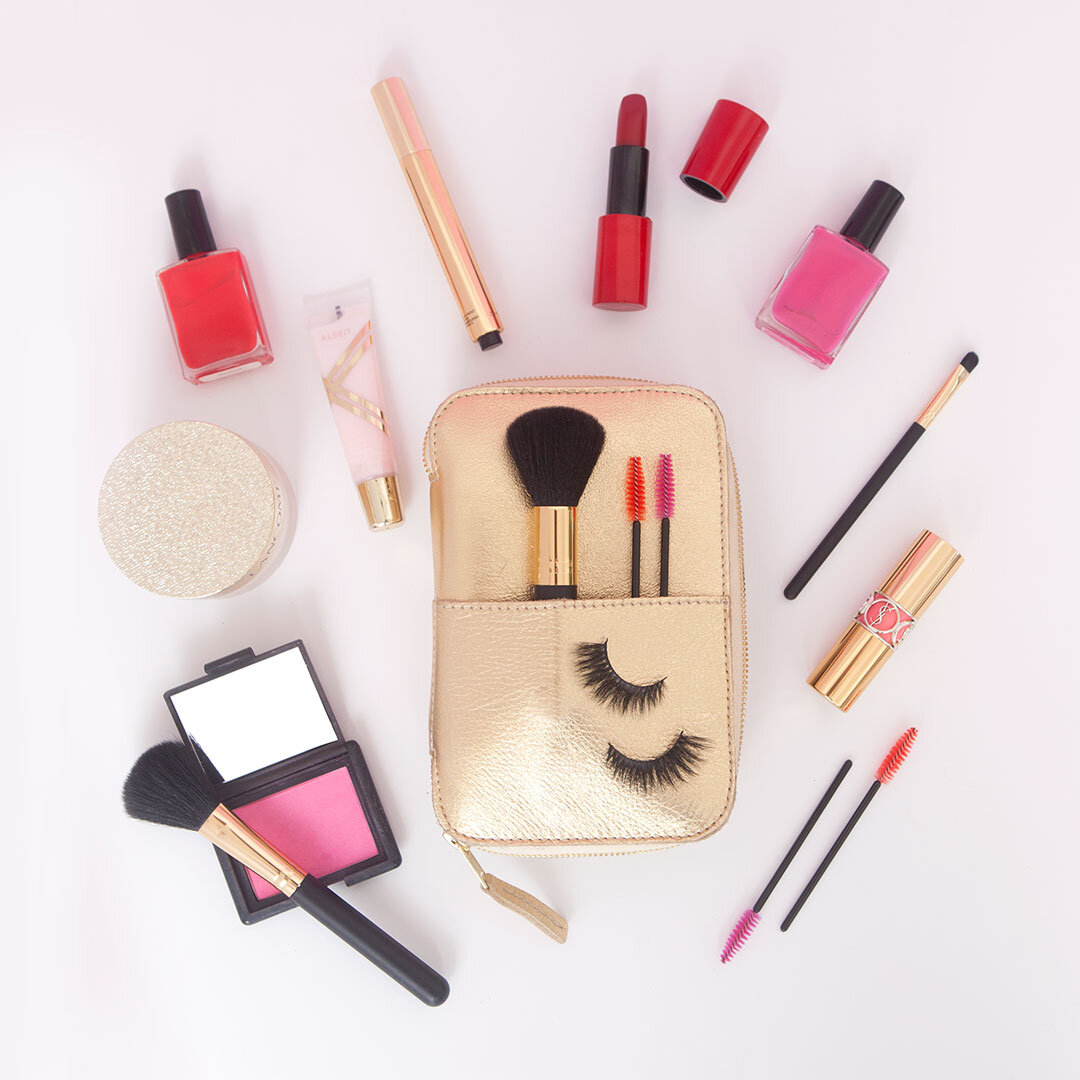
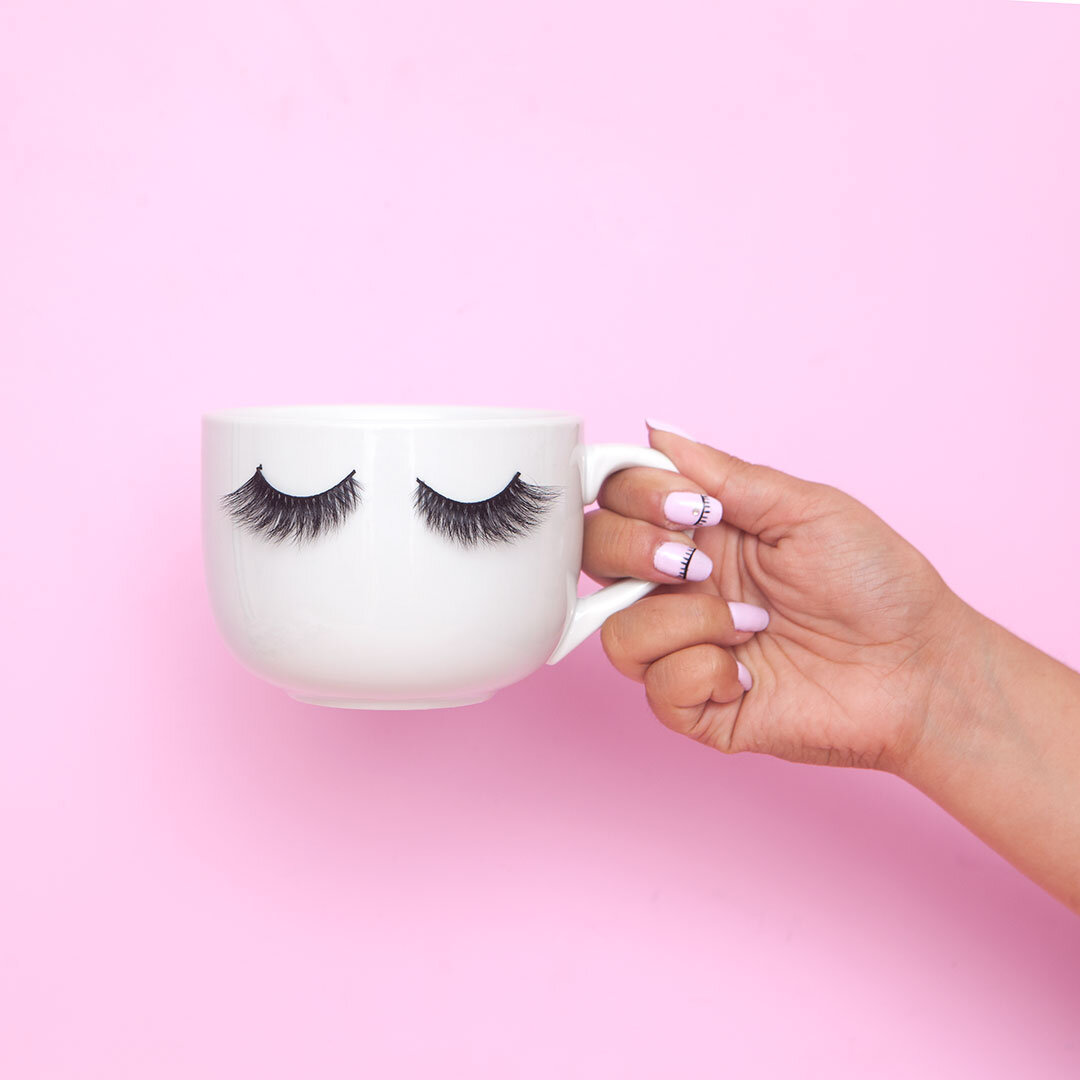
And then it was photoshoot time! Here's a selection of what we ended up with, and you can see how they've been integrated into the overall Lash It Instagram strategy as well.

And there you have it! You may have noticed that the way that I’ve gone through this process looks a little different than Scarlet’s, which I showed you before. That’s because this time I did it digitally, and with Scarlet’s I went through the whole process by printing everything out along the way and doing it by hand - inspiration images were printed off, everything was pieced together on a printed off workmat, including the colour swatches, and I used post-it notes to fill out the fields.
I wanted to show you both options, because in the Visual Strategy Masterclass course, I include the instructions, tools and resources for you to do it either way. That means that there are two versions of each of the workmats as well - both in editable PDFs and hi-res print-ready versions (which you saw a peek of in Scarlet's post) that can be printed off in various sizes up to 36x48”, which I absolutely love working with.